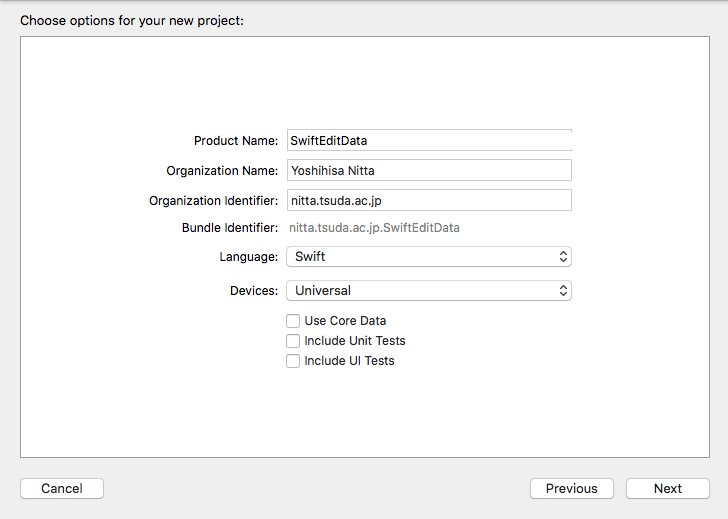
UIViewController のサブクラスとして3つのクラスを生成します。 それぞれのクラス名とファイル名は次のようにします。
| クラス名 | subclass of: | ファイル名 |
| EditViewController | UIViewController | EditViewController.swift |
| ListViewController | UIViewController | ListViewController.swift |
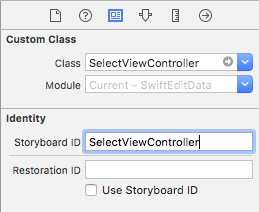
| SelectViewController | UIViewController | SelectViewController.swift |
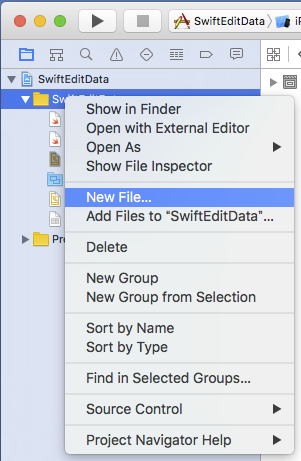
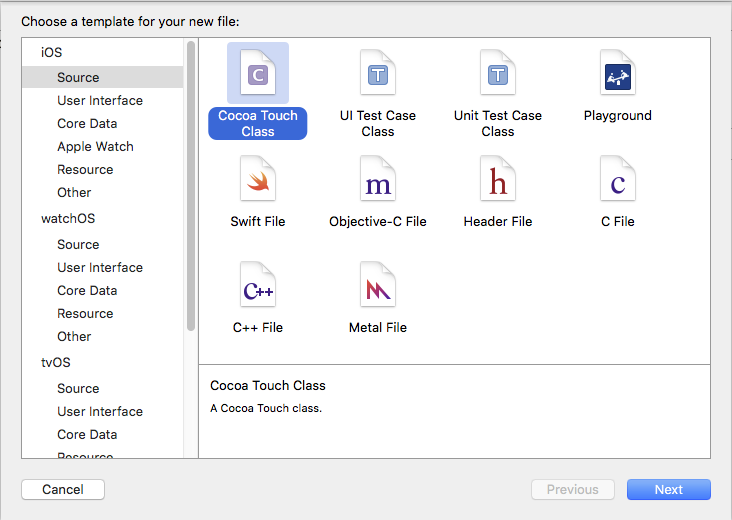
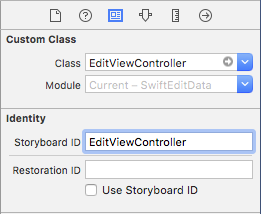
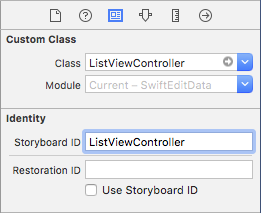
project navigator のプロジェクト名の上でマウスを右ドラッグして "New File..." を選択します。 iOS の Source で Cocoa Touch Class を選んで Next をクリックします。 Class: には "EditViewController", Subclass of: には "UIViewController" Language: には "Swift" を選びます(クラス名は自由に選んで構いません)。 EditViewController.swift がプロジェクトに追加されます。

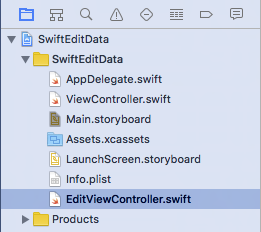
これをもう2回繰り返して、合計で3つのファイルを追加します。
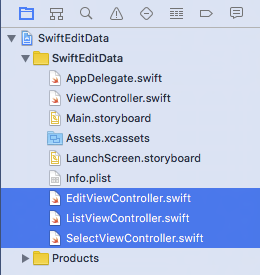
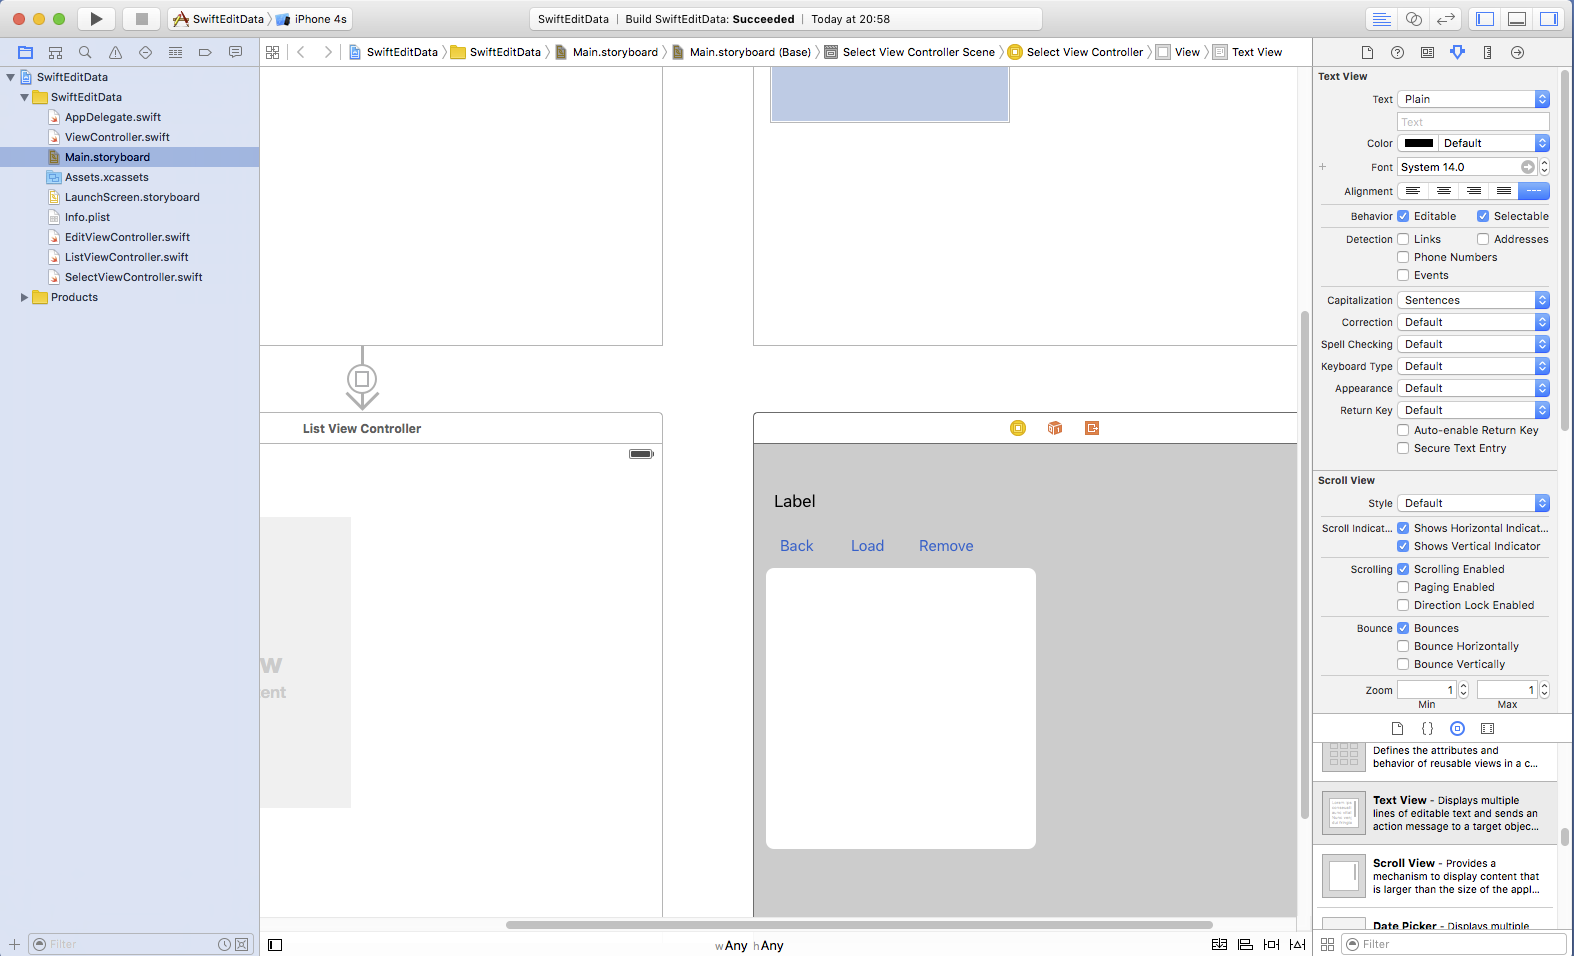
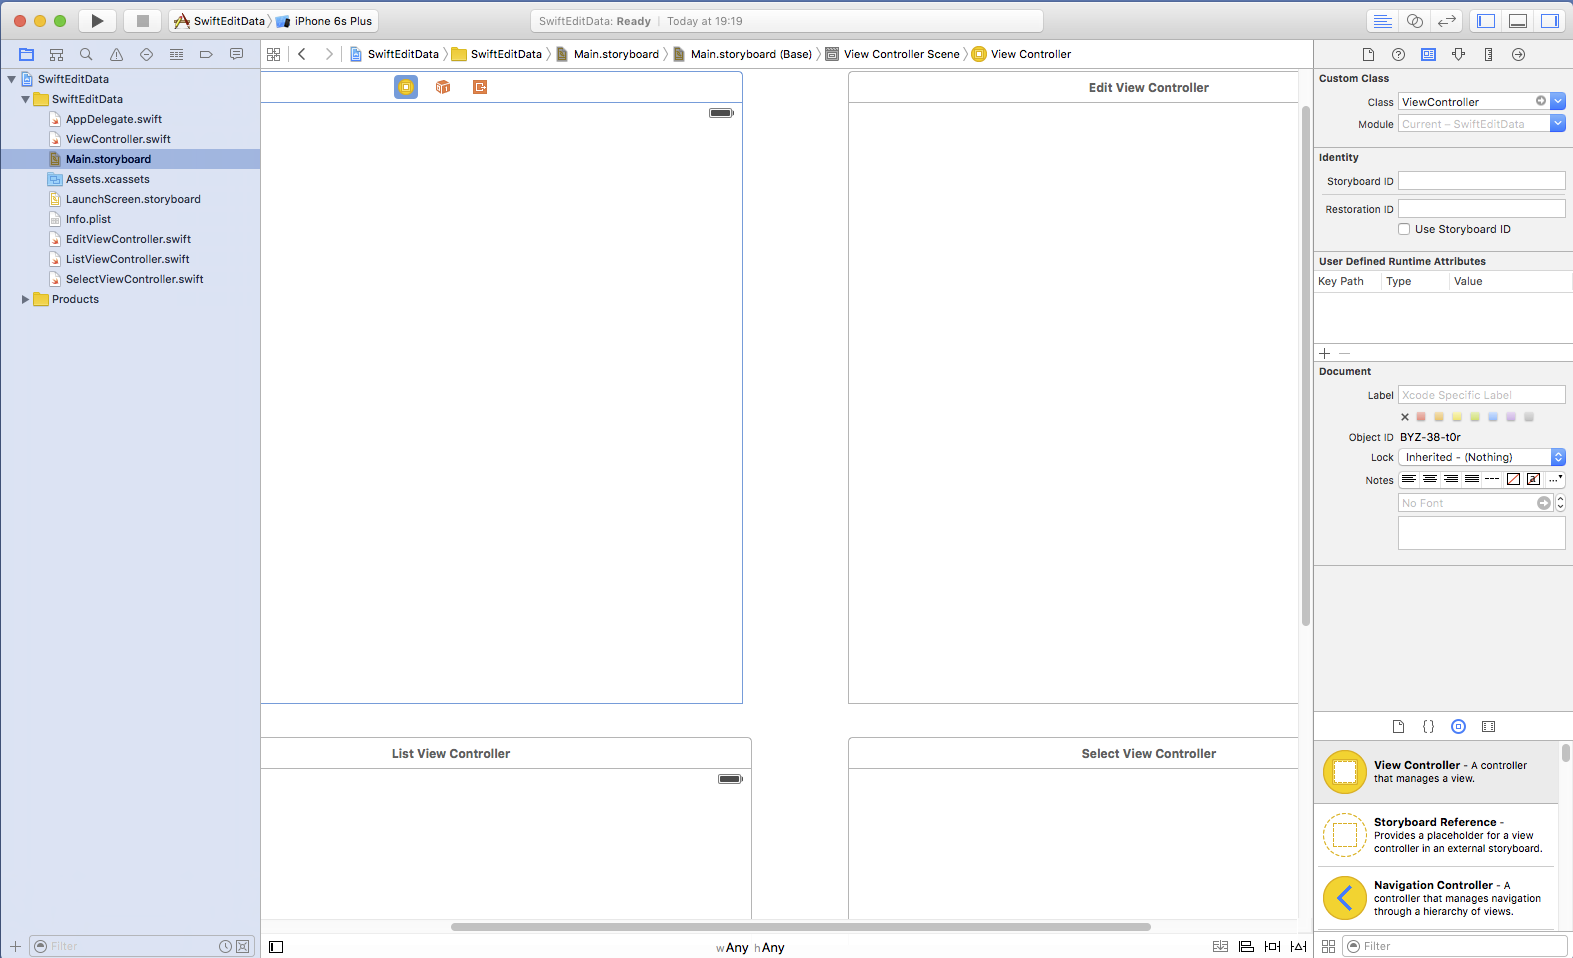
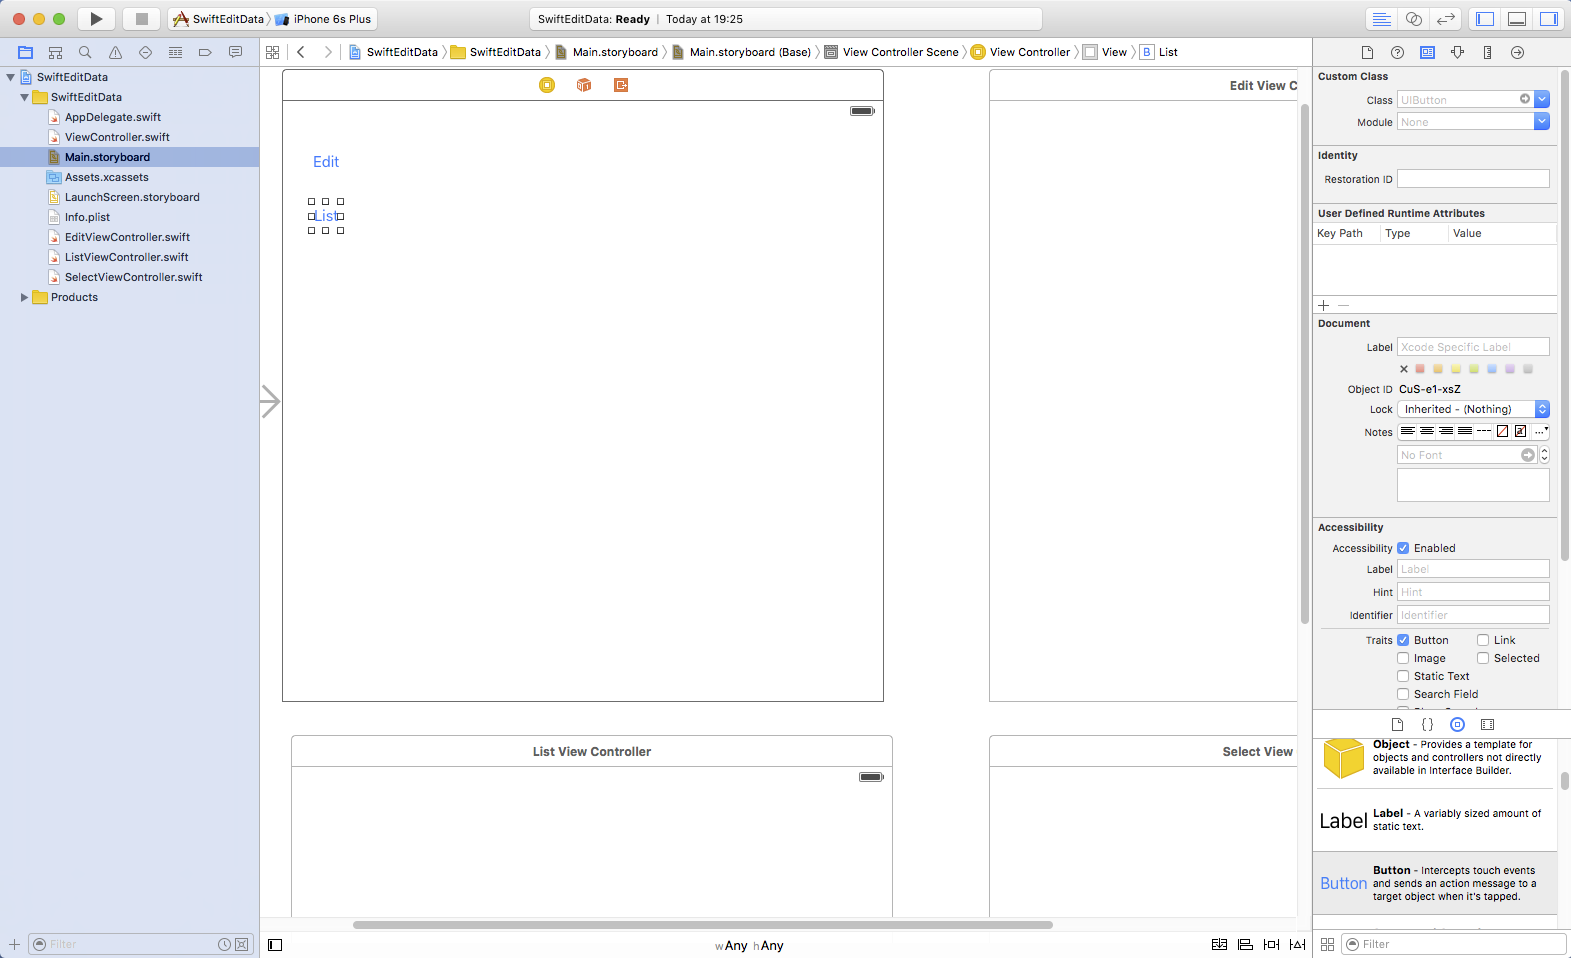
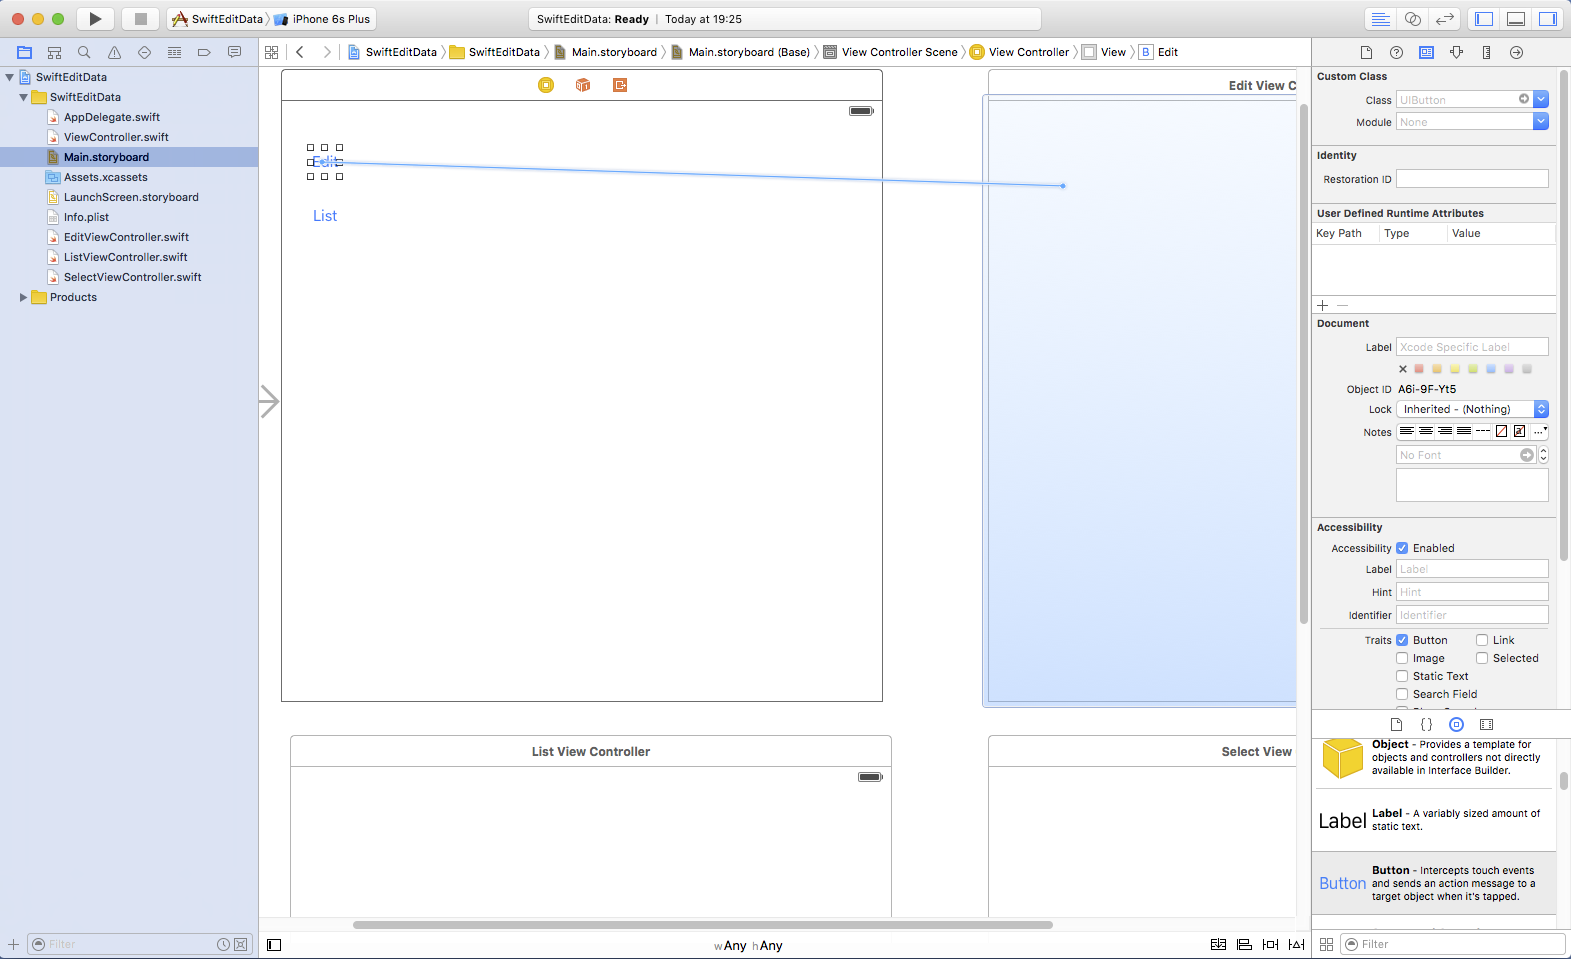
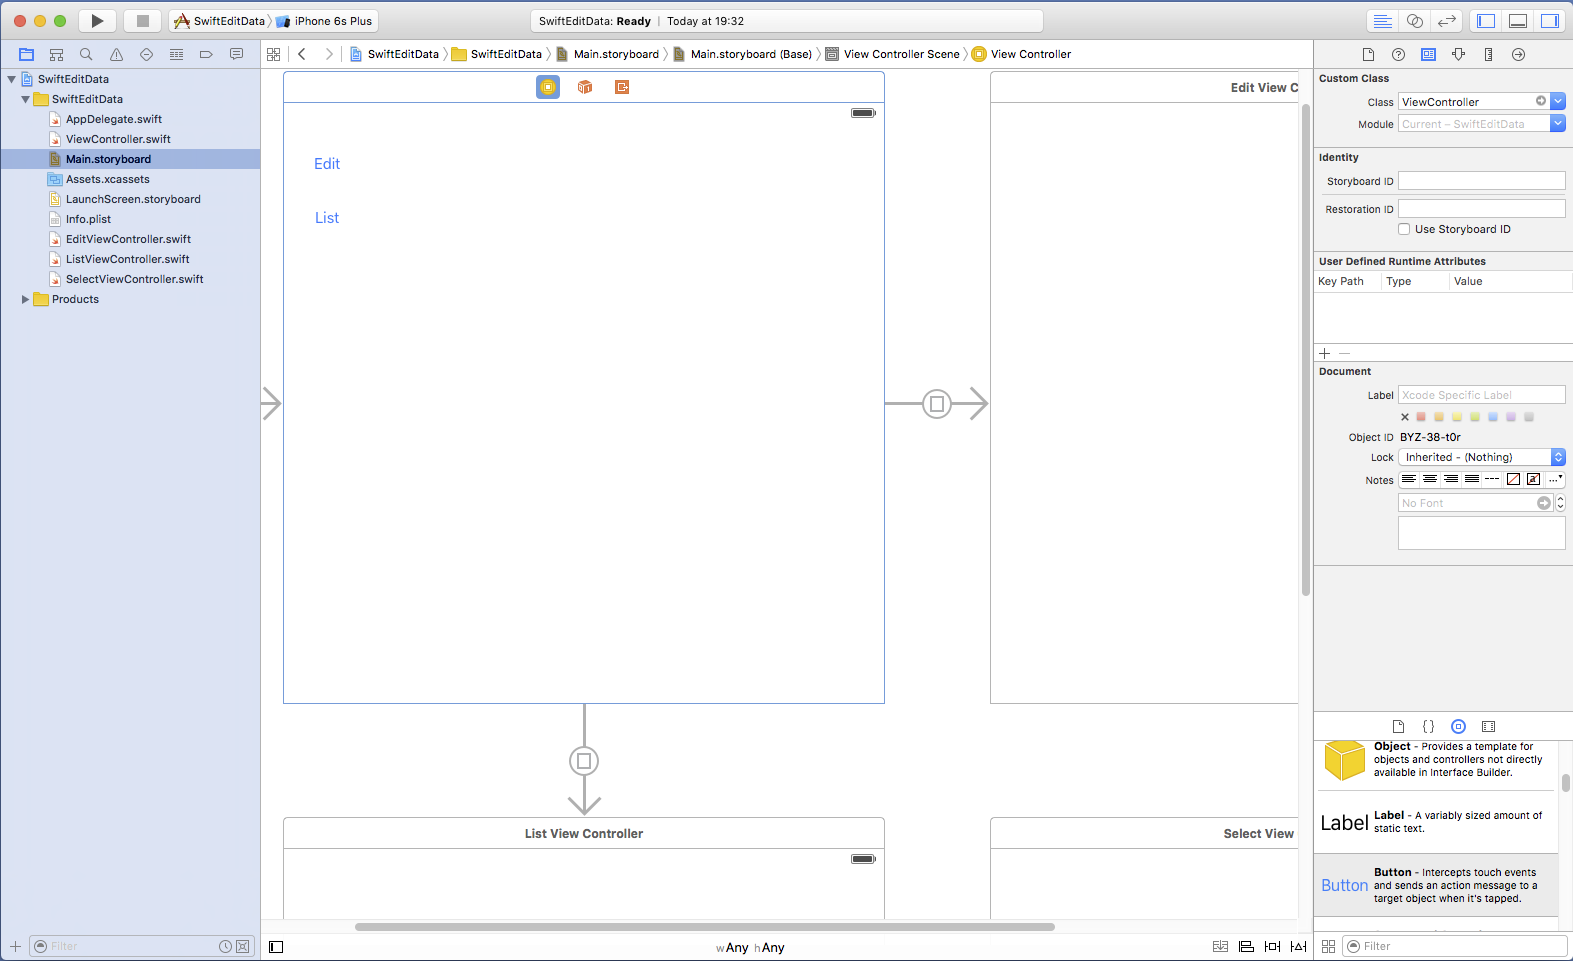
これ以降、Main.storyboard 上の4個のUIViewController のサブクラスを それぞれ ViewController, EditViewController, ListViewController, SelectViewController と呼ぶことにします。


| 種類 | connection | 変数名またはメソッド名 |
| "rows" Label | なし | ... |
| TextField | Outlet | rowsField変数 |
| Action (Editing Did End) | rowsEditingEnd()関数 | |
| "columns" Label | なし | ... |
| UITextField | Outlet | colsField変数 |
| Action (Editing Did End) | colsEditingEnd()関数 | |
| "Back" Button | Action (Touch Up Inside) | tapBack()関数 |
| "Save" Button | Action (Touch Up Inside) | tapSave()関数 |
| "0" Button | Action (Touch Up Inside) | tapButton0()関数 |
| "1" Button | Action (Touch Up Inside) | tapButton1()関数 |
| "2" Button | Action (Touch Up Inside) | tapButton2()関数 |
| "3" Button | Action (Touch Up Inside) | tapButton3()関数 |
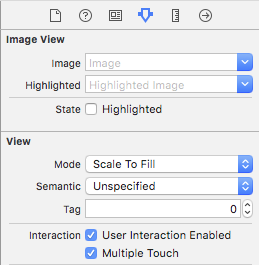
| UIImageView | Outlet | myImageView変数 |

Attribute Inspector から Interaction の "User Interaction Enabled" と "Multiple Touch" にチェックを入れます。
 が表示されたら正しく追加されています。
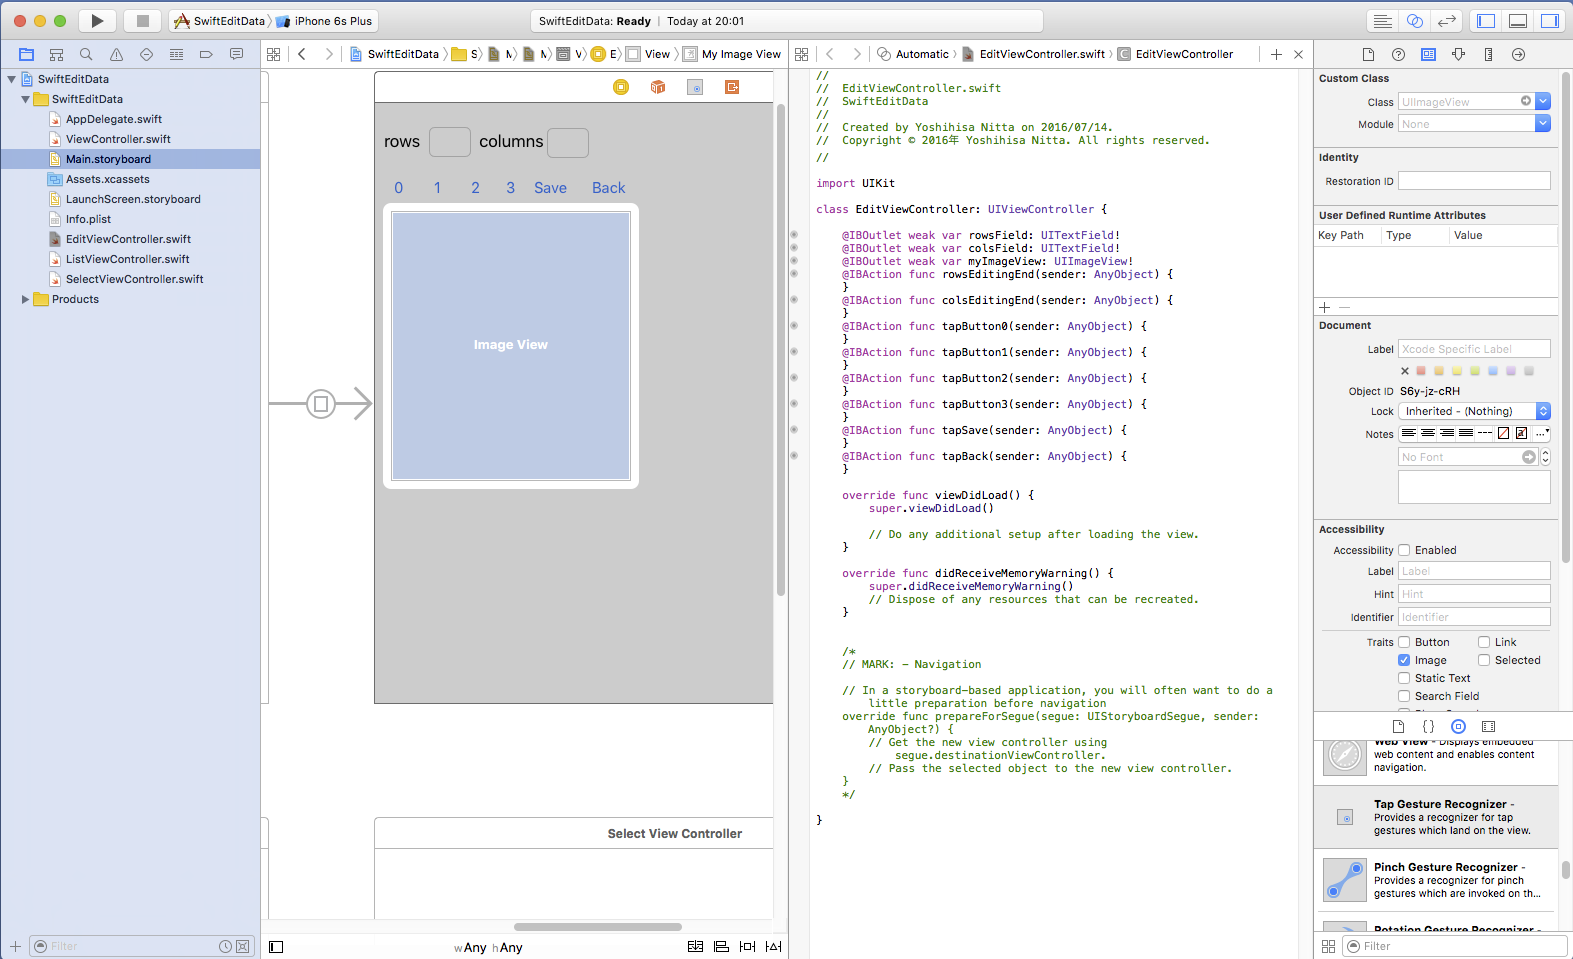 から、
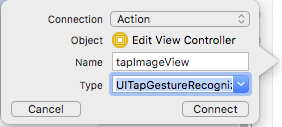
EditViewController.swift の中の tapImageView()関数に
Action (引数のTypeは UITapGestureRecognizer を選択して)
で connect します。
から、
EditViewController.swift の中の tapImageView()関数に
Action (引数のTypeは UITapGestureRecognizer を選択して)
で connect します。

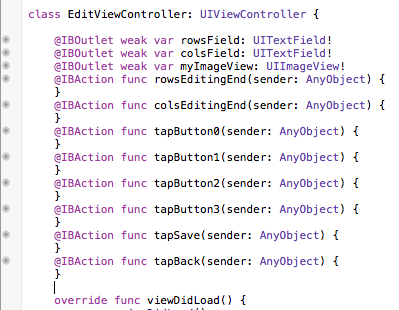
| EditViewController.swiftに追加するコード(赤字部分) |
import UIKit

class EditViewController: UIViewController {

    var rows: Int!
    var cols: Int!
    var mode: Int!
    var map: [Int]!

    let colors:[[CGFloat]] = [[ 0.7, 0.7, 0.7, 1.0 ],
                              [ 1.0, 0.0, 0.0, 1.0 ],
                              [ 0.0, 1.0, 0.0, 1.0 ],
                              [ 0.0, 0.0, 1.0, 1.0 ]]

    @IBOutlet weak var rowsField: UITextField!
    @IBOutlet weak var colsField: UITextField!
    @IBOutlet weak var myImageView: UIImageView!
    @IBAction func rowsEditingEnd(sender: AnyObject) {
        if let t = Int(rowsField.text!) {
            changeMapSize(t,cols)
        }
        rowsField.text = String(rows)
    }
    @IBAction func colsEditingEnd(sender: AnyObject) {
        if let t = Int(colsField.text!) {
            changeMapSize(rows,t)
        }
        colsField.text = String(cols)
    }
    @IBAction func tapButton0(sender: AnyObject) {
        mode = 0
    }
    @IBAction func tapButton1(sender: AnyObject) {
        mode = 1
    }
    @IBAction func tapButton2(sender: AnyObject) {
        mode = 2
    }
    @IBAction func tapButton3(sender: AnyObject) {
        mode = 3
    }
    @IBAction func tapSave(sender: AnyObject) {
        let format = NSDateFormatter()
        format.dateFormat = "yyyy-MM-dd_HH-mm-ss"
        format.timeZone = NSTimeZone(abbreviation: "JST")
        let now = format.stringFromDate(NSDate())

        let path = NSHomeDirectory() + "/Documents/" + now + ".txt"
        var contents: String = "\(rows) \(cols)"
        for m in map {
            contents = contents + " " + String(m)
        }
        do {
            try contents.writeToFile(path, atomically:true, encoding:NSUTF8StringEncoding)
        } catch let error as NSError {
            let alert = UIAlertController(title:"Save", message: "error occurred: "+String(error), preferredStyle: UIAlertControllerStyle.Alert)
            alert.addAction(UIAlertAction(title:"Cancel", style:UIAlertActionStyle.Cancel,handler:nil))
            presentViewController(alert,animated:true,completion:nil)
        }
    }
    @IBAction func tapBack(sender: AnyObject) {
        dismissViewControllerAnimated(true, completion: nil)
    }
    @IBAction func tapImageView(sender: UITapGestureRecognizer) {
        let pos = sender.locationInView(myImageView)
        let sz:CGSize = myImageView.bounds.size
        let bw = sz.width / CGFloat(cols)
        let bh = sz.height / CGFloat(rows)
        let c = Int(pos.x / bw)
        let r = Int(pos.y / bh)
        map[r * cols + c] = mode
        drawMap()
    }

    func drawMap() {
        let sz:CGSize = myImageView.bounds.size
        let bw = sz.width / CGFloat(cols);
        let bh = sz.height / CGFloat(rows);
        UIGraphicsBeginImageContext(sz)
        let context: CGContextRef = UIGraphicsGetCurrentContext()!
        CGContextSetLineWidth(context, 2.0)
        CGContextSetRGBStrokeColor(context, 0.5, 0.5, 0.5, 1.0)
        for i in 0..<(rows*cols) {
            let r = CGFloat(i / cols)
            let c = CGFloat(i % cols)
            let m = map[i]
            CGContextSetRGBFillColor(context, colors[m][0], colors[m][1], colors[m][2], colors[m][3])
            let rect = CGRect(x: c * bw, y: r * bh, width: bw, height: bh)
            CGContextFillRect(context, rect)
            CGContextStrokeRect(context, rect)
        }
        myImageView.image = UIGraphicsGetImageFromCurrentImageContext()
        UIGraphicsEndImageContext()
    }

    func changeMapSize(rs:Int, _ cs:Int) {
        print("map = \(rows) x \(cols) to \(rs) x \(cs)")
        var map2 = Array<Int>(count: (rs*cs), repeatedValue: 0)
        for r in 0..<rs {
            for c in 0..<cs {
                if (r < rows) && (c < cols) {
                    map2[r * cs + c] = map[r * cols + c]
                }
            }
        }
        map = map2; rows = rs; cols = cs
        drawMap()
    }

    override func viewDidLoad() {
        super.viewDidLoad()
        rows = rows ?? 8
        cols = cols ?? 8
        mode = mode ?? 0
        rowsField.text = String(rows)
        colsField.text = String(cols)
        map = Array<Int>(count: (rows*cols), repeatedValue: 0)
        drawMap()
   }

    override func didReceiveMemoryWarning() {
        super.didReceiveMemoryWarning()
    }

}
|
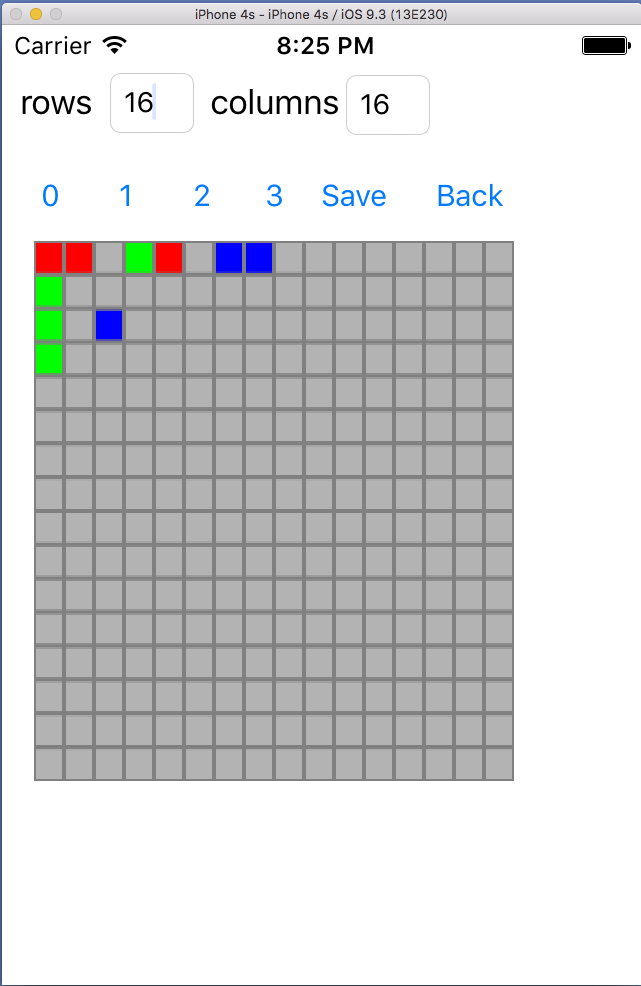
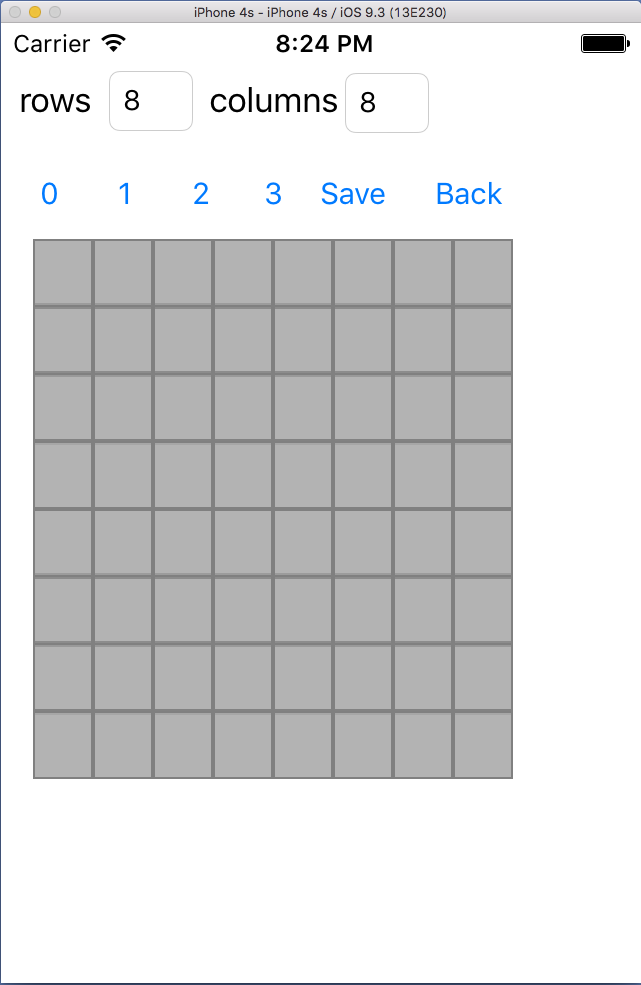
最初の画面で "Edit" ボタンを選択すると、マップ編集画面に遷移します。 rowsやcolumnsの横のテキストフィールドに数値を代入するとTabを押した瞬間、マップのサイズが変更されます。 数字のボタンをタップしてから、ImageViewをタップすると矩形領域の色が変ります。 Save ボタンでデータをファイルに保存します。ファイル名は"そのときの日時.txt" となります。
 -->
-->
 -->
-->