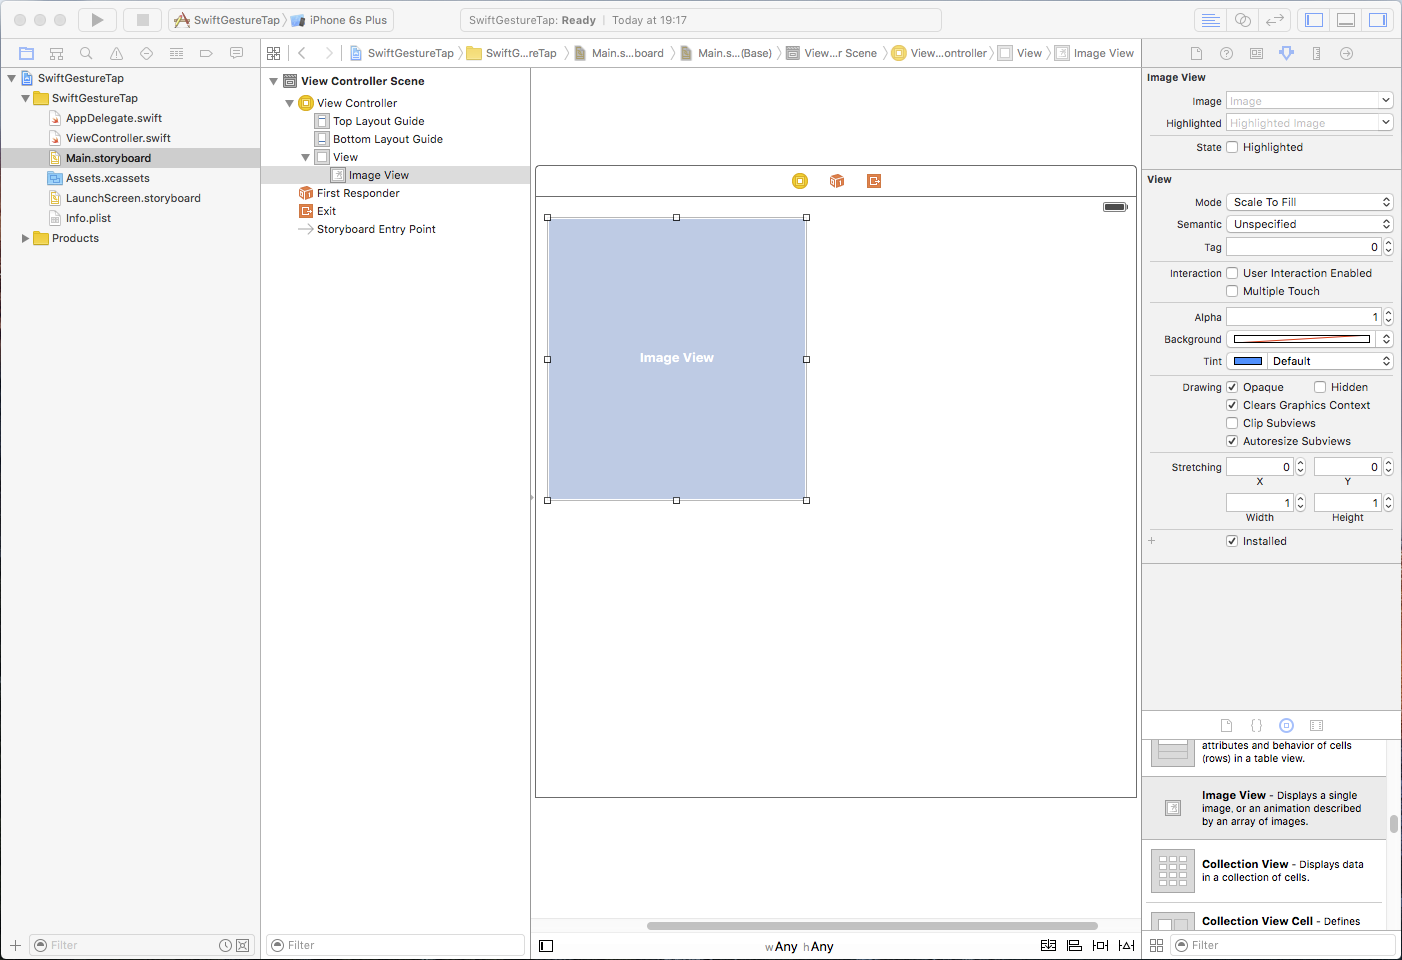
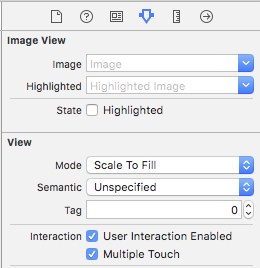
ImageViewはデフォルトではジェスチャを認識しないように設定されていますので、 ジェスチャを認識するように変更します。
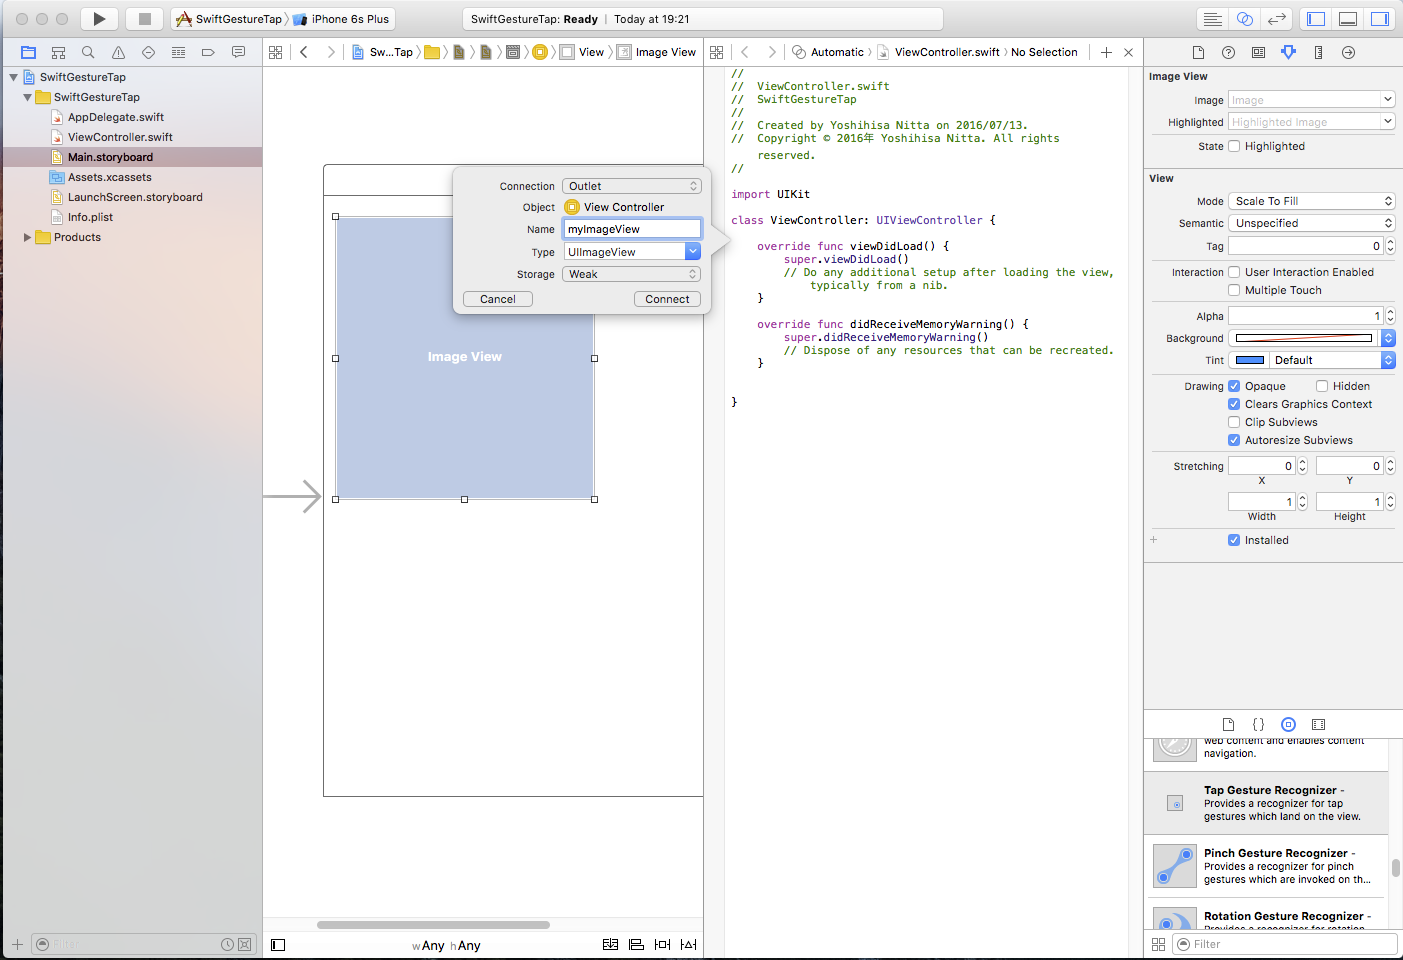
 が表示されたら正しく追加されています。
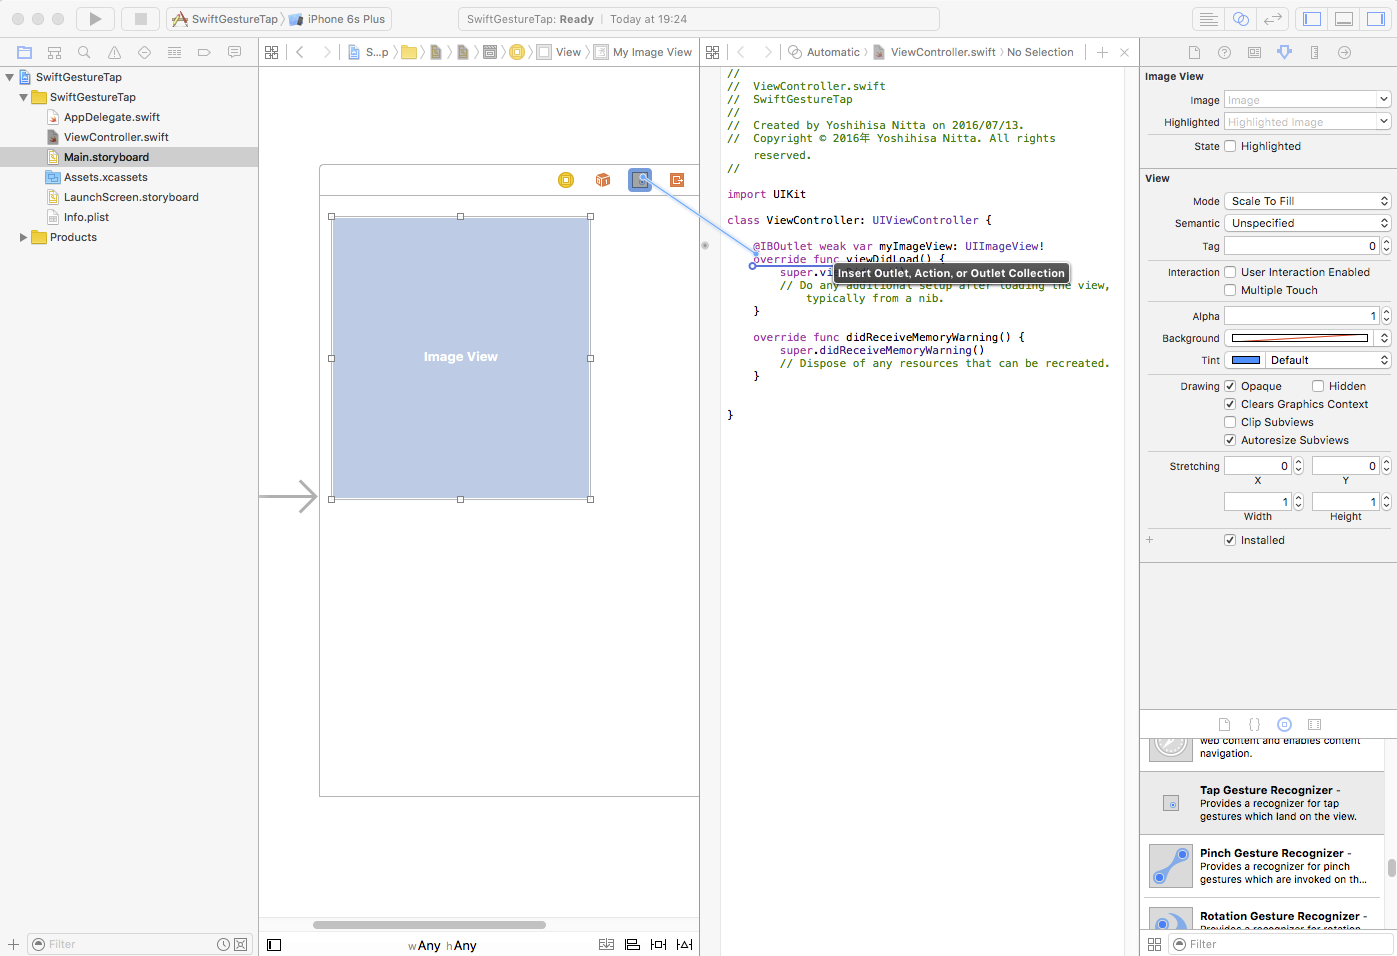

プログラムの中で、posがImageViewの中でのタップ位置、 gposが画面全体の中でのタップ位置となります。
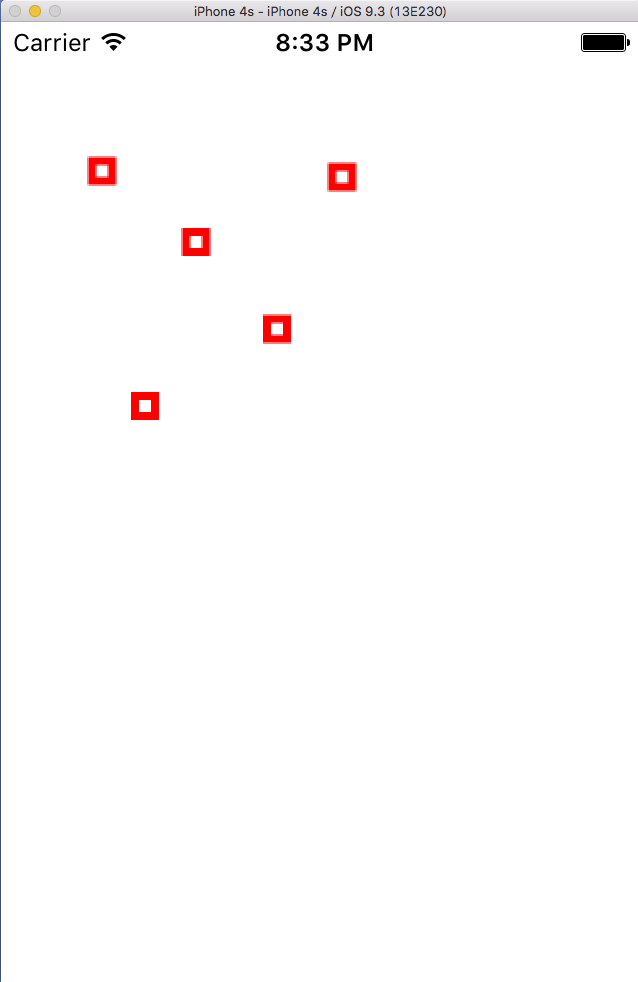
タップした場所(ImageViewの位置pos)に、10x10の赤い4角形を書くようにします。
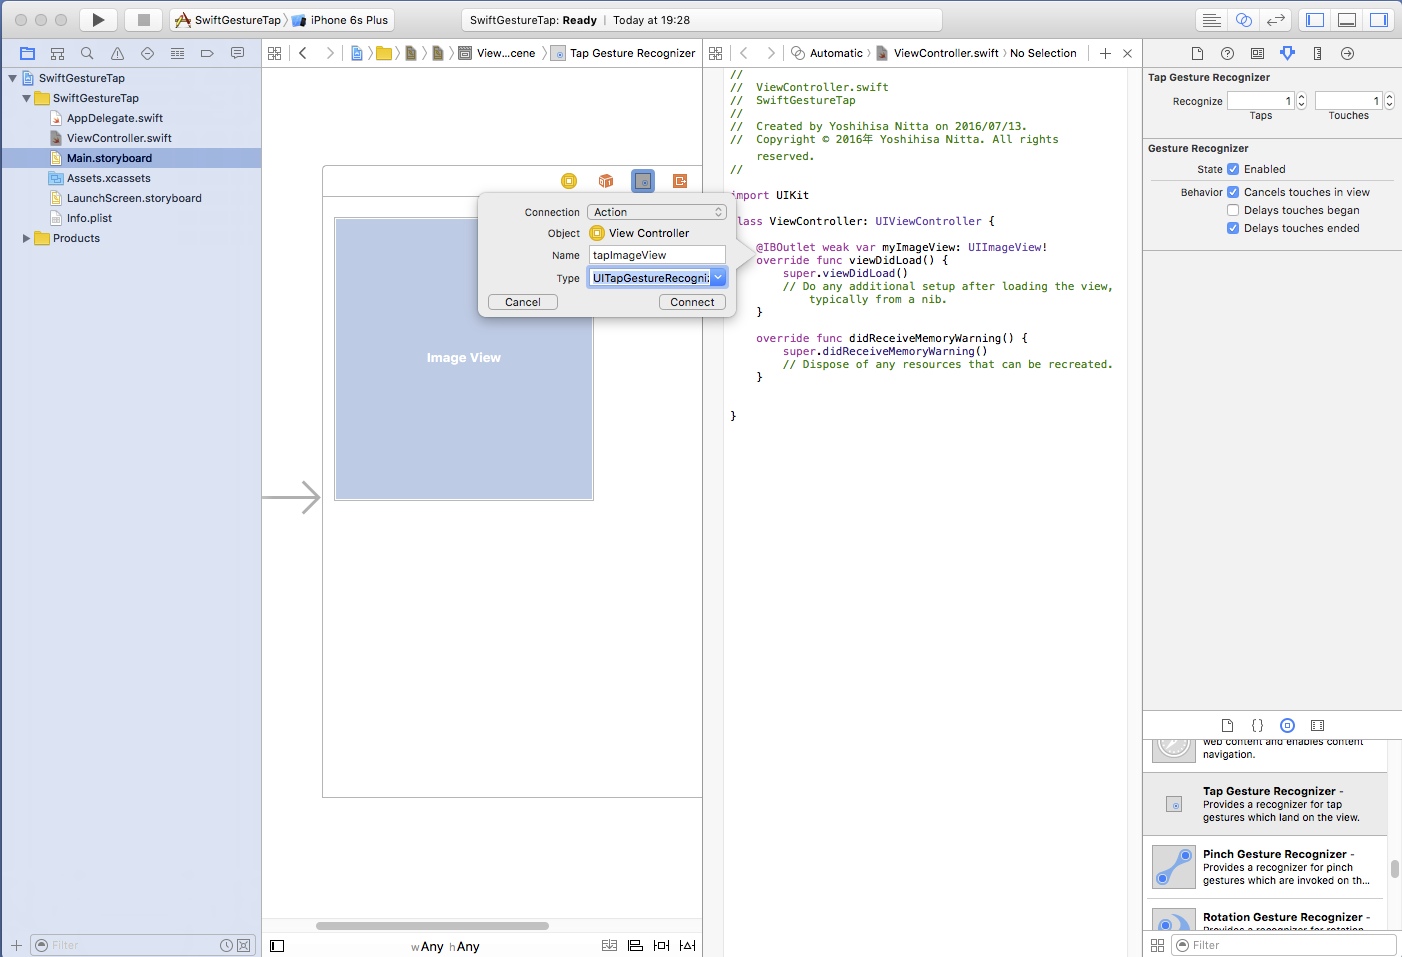
| ViewController.swiftに追加するコード(赤字部分) |
import UIKit
class ViewController: UIViewController {
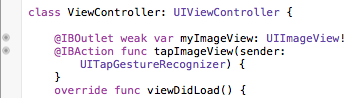
@IBOutlet weak var myImageView: UIImageView!
@IBAction func tapImageView(sender: UITapGestureRecognizer) {
let gpos = sender.locationInView(self.view)
let pos = sender.locationInView(myImageView)
print("gpos = \(gpos)")
print("pos = \(pos)")
myImageView.image = makeUIImage(myImageView.image, pos)
}
func makeUIImage(image: UIImage?, _ pos:CGPoint) -> UIImage {
let sz:CGSize = myImageView.frame.size
UIGraphicsBeginImageContext(sz)
let context: CGContextRef = UIGraphicsGetCurrentContext()!
if image != nil {
image!.drawInRect(CGRectMake(0,0,image!.size.width,image!.size.height))
}
CGContextSetLineWidth(context, 4.0)
CGContextSetRGBStrokeColor(context, 1.0, 0.0, 0.0, 1.0)
CGContextAddRect(context, CGRectMake(pos.x-5,pos.y-5,10,10))
CGContextStrokePath(context)
let img = UIGraphicsGetImageFromCurrentImageContext()
UIGraphicsEndImageContext()
return img
}
override func viewDidLoad() {
super.viewDidLoad()
}
override func didReceiveMemoryWarning() {
super.didReceiveMemoryWarning()
}
}
|
ImageViewの上をタップすると、タップした場所を中心に10x10の赤い枠が表示されます。