File -> New Scene
File -> Save Scene as ... -> Sample04.unity
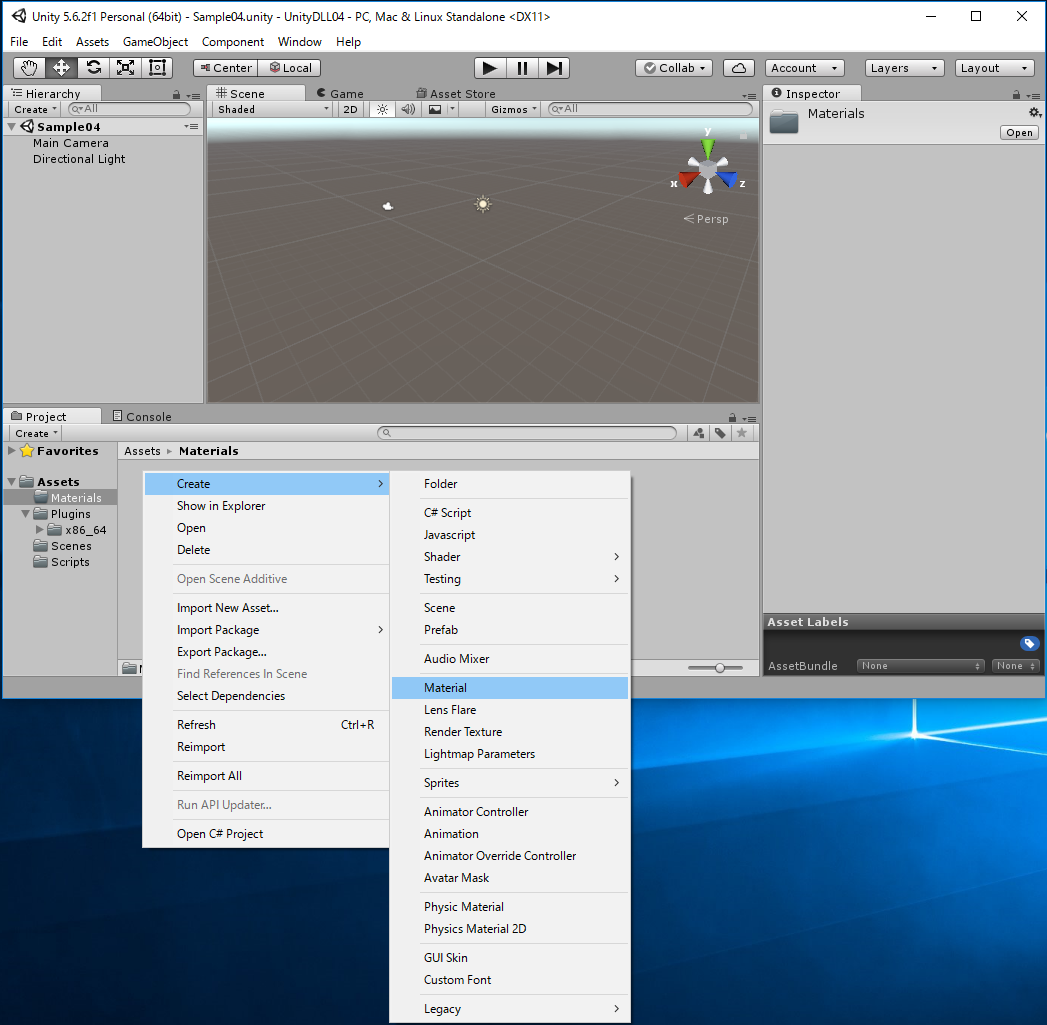
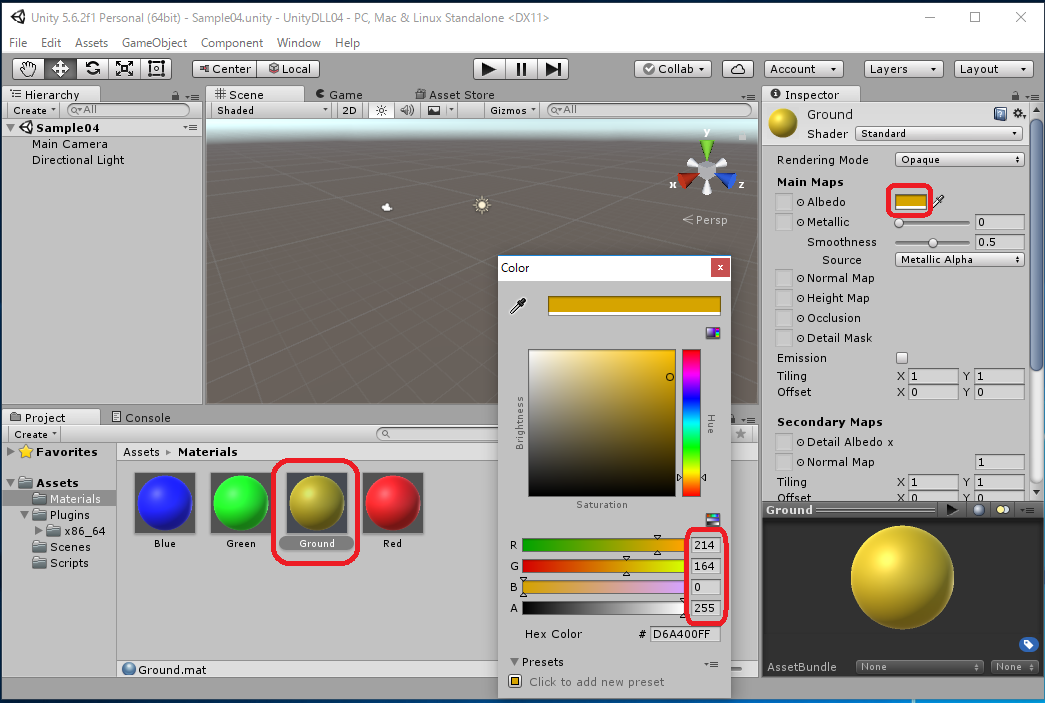
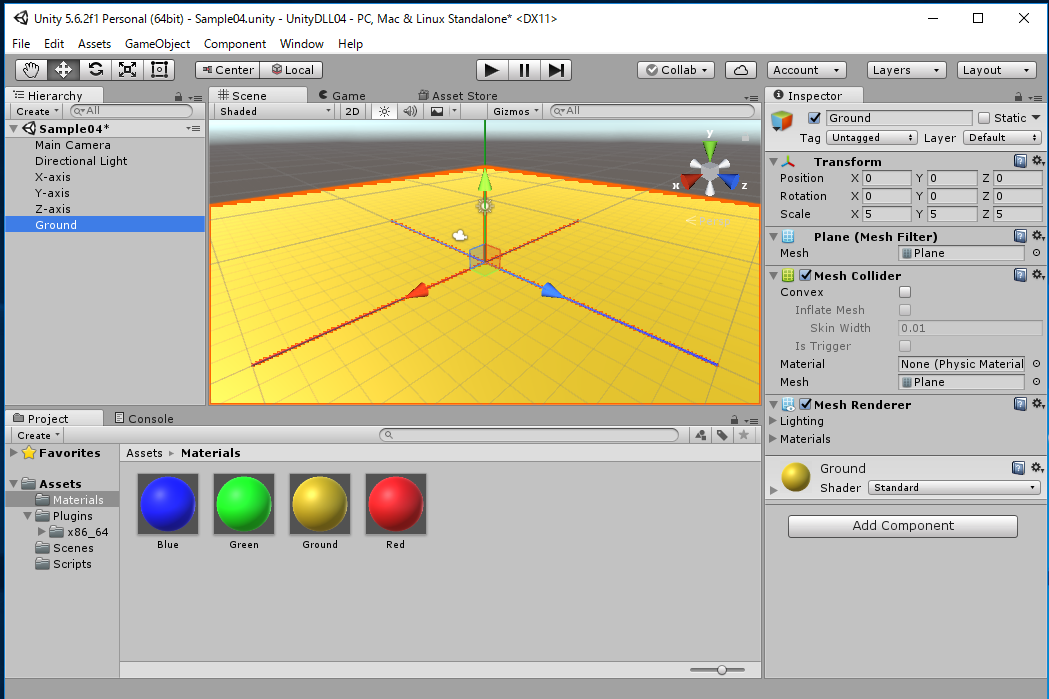
Change the name and Albedo of each Material as follows.
| Name | Albedo | |||
|---|---|---|---|---|
| R | G | B | A | |
| Red | 255 | 0 | 0 | 255 |
| Green | 0 | 255 | 0 | 255 |
| Blue | 0 | 0 | 255 | 255 |
| Ground | 214 | 164 | 0 | 255 |
| Name | Position | Rotation | Scale | Material | ||||||
|---|---|---|---|---|---|---|---|---|---|---|
| X | Y | Z | X | Y | Z | X | Y | Z | ||
| X-axis | 0 | 0 | 0 | 0 | 0 | 90 | 0.1 | 10 | 0.1 | Red |
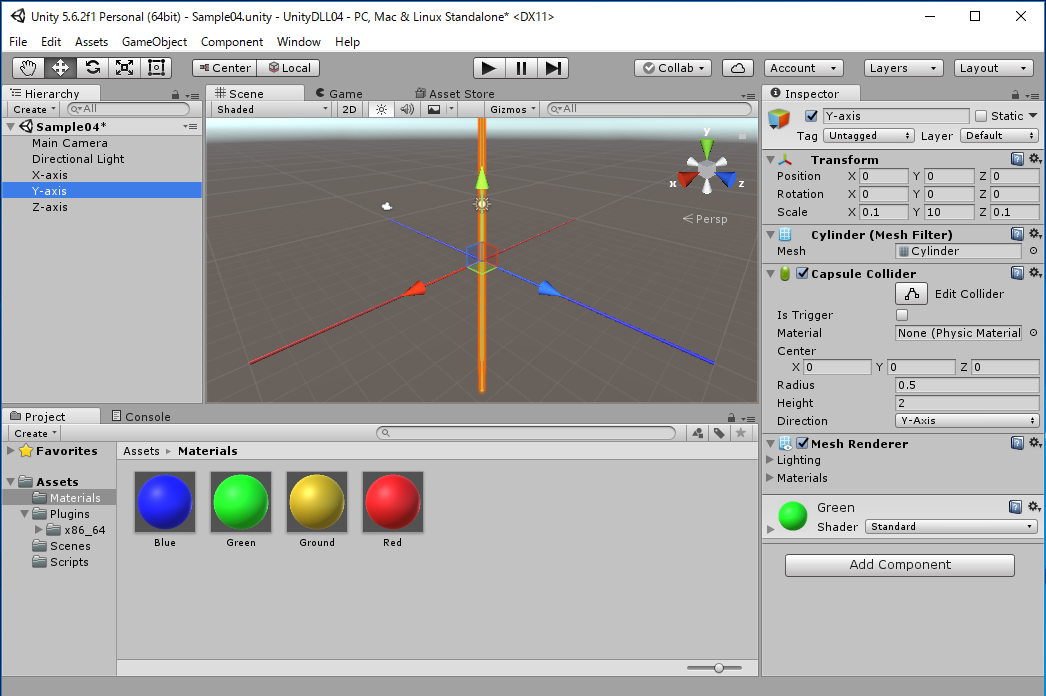
| Y-axis | 0 | 0 | 0 | 0 | 0 | 0 | 0.1 | 10 | 0.1 | Green |
| Z-axis | 0 | 0 | 0 | 90 | 0 | 0 | 0.1 | 10 | 0.1 | Blue |
| Name | Position | Rotation | Scale | Material | ||||||
|---|---|---|---|---|---|---|---|---|---|---|
| X | Y | Z | X | Y | Z | X | Y | Z | ||
| Ground | 0 | 0 | 0 | 0 | 0 | 0 | 5 | 5 | 5 | Ground |
| Name | Position | Rotation | Scale | Material | ||||||
|---|---|---|---|---|---|---|---|---|---|---|
| X | Y | Z | X | Y | Z | X | Y | Z | ||
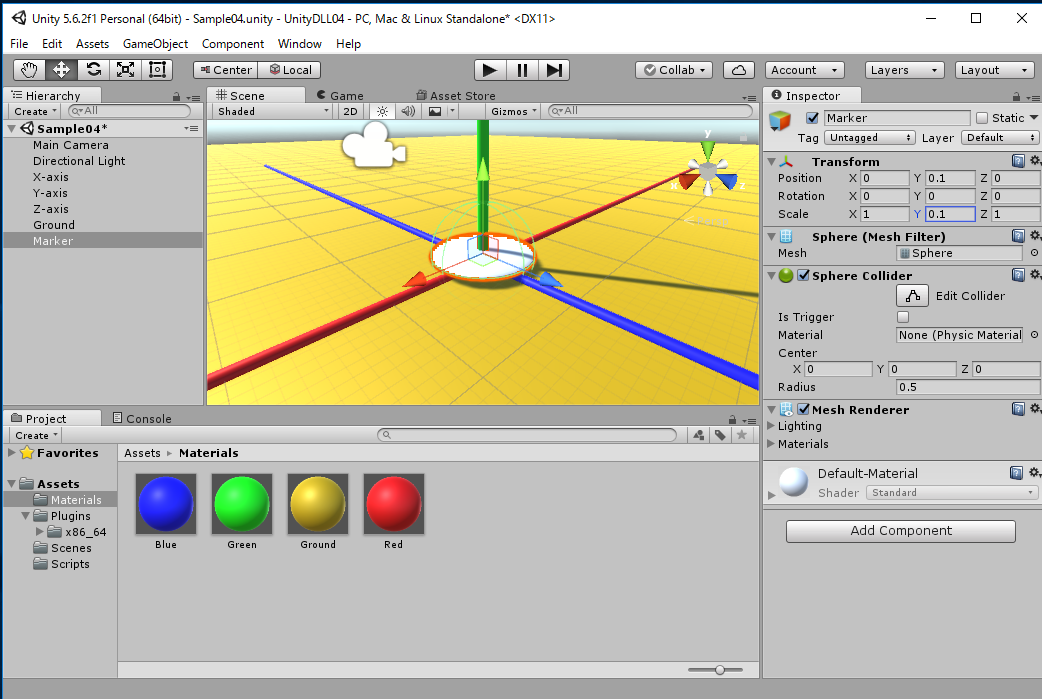
| Marker | 0 | 0.1 | 0 | 0 | 0 | 0 | 1 | 0.1 | 1 | White (Default-Material) |
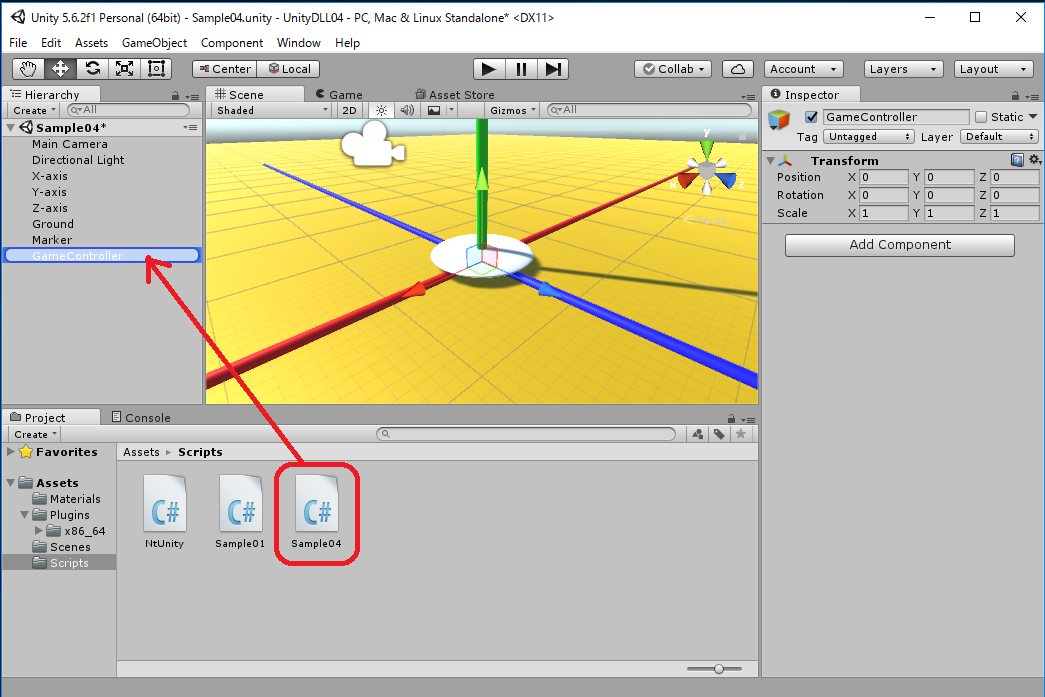
from above menu -> "Assets" -> "Create" -> "C# Script" -> Rename as "Sample04"
| Sample04.cs |
using System.Collections;
using System.Collections.Generic;
using UnityEngine;
using System;
public class Sample04 : MonoBehaviour {
public GameObject target;
public float radius = 2.0f;
NtUnity.Kinect nt;
void Start () {
nt = new NtUnity.Kinect();
}
void Update () {
nt.setAudio(false);
if (nt.beamAngleConfidence < 0.5) return;
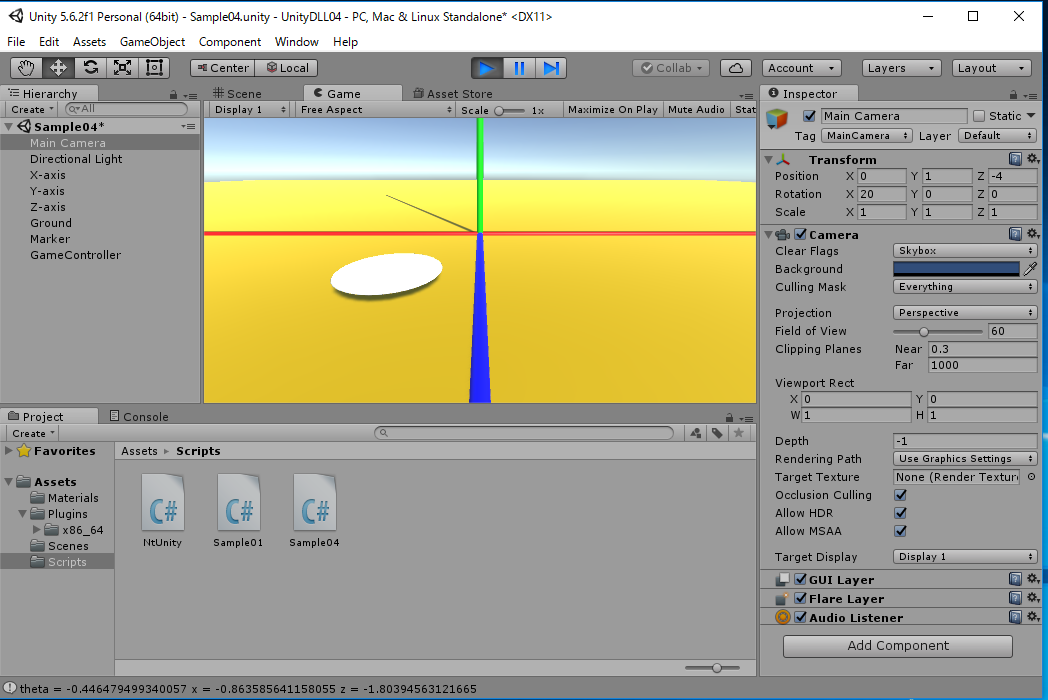
double theta = nt.beamAngle;
double x = radius * Math.Sin(theta);
float y = target.transform.position.y;
double z = radius * (-Math.Cos(theta));
target.transform.position = new Vector3((float)x,y,(float)z);
}
}
|
above menu -> GameObject -> Create Empty


     nt.setRGB();
     nt.setSkeleton();
     nt.setFace();
     nt.imshowBlack();