
| ViewController.swiftに追加するコード(赤字部分) |
import UIKit
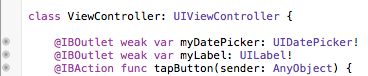
class ViewController: UIViewController {
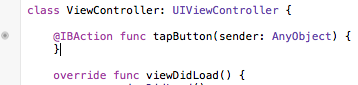
@IBAction func tapButton(sender: AnyObject) {
let app = UIApplication.sharedApplication()
app.cancelAllLocalNotifications();
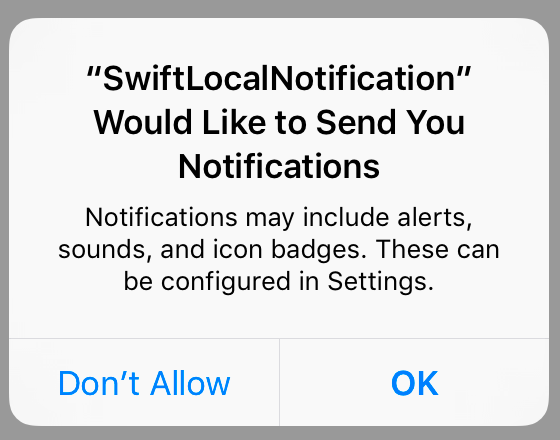
app.registerUserNotificationSettings(UIUserNotificationSettings(forTypes: [.Sound, .Alert, .Badge], categories: nil))
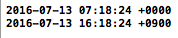
let date = NSDate().dateByAddingTimeInterval(NSTimeInterval(5.0))
let notification = UILocalNotification()
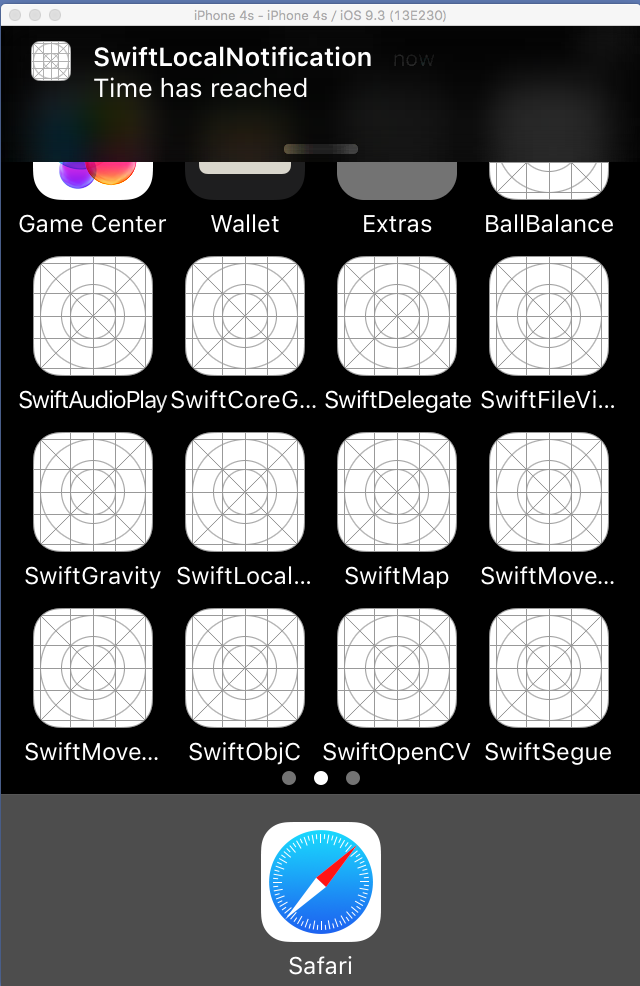
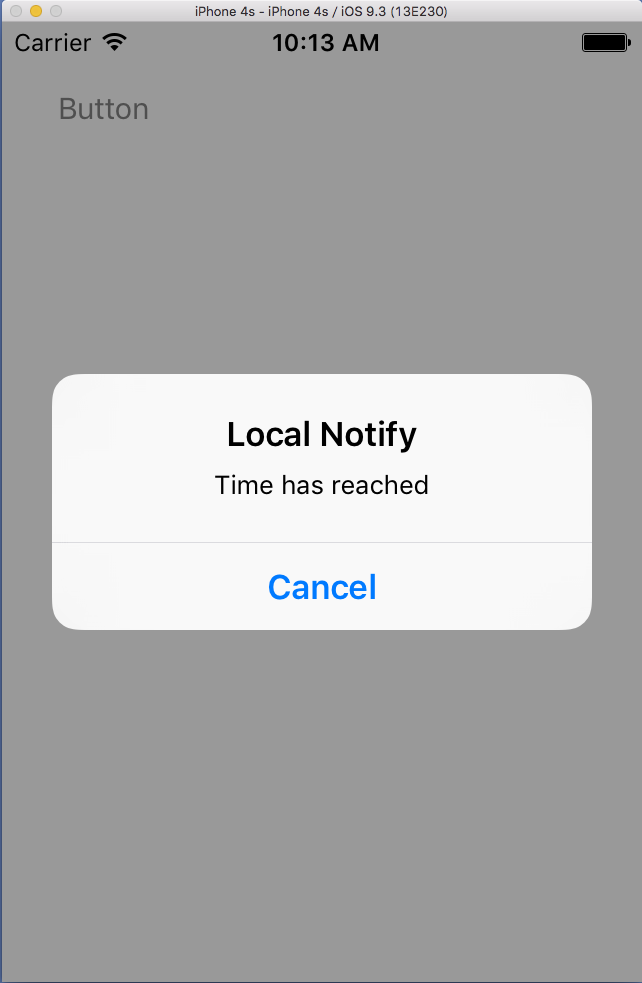
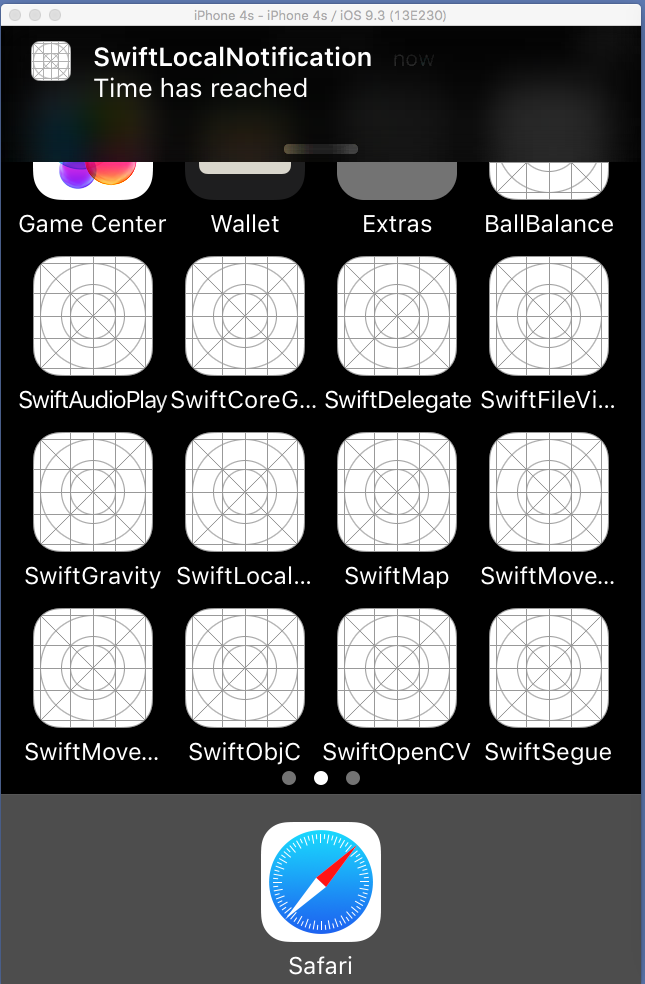
notification.alertBody = "Time has reached"
notification.alertAction = "OK"
notification.soundName = UILocalNotificationDefaultSoundName
notification.timeZone = NSTimeZone.defaultTimeZone()
notification.fireDate = date
app.scheduleLocalNotification(notification)
}
override func viewDidLoad() {
super.viewDidLoad()
}
override func didReceiveMemoryWarning() {
super.didReceiveMemoryWarning()
}
}
|
| AppDelegate.swiftに追加するコード(赤字部分) |
import UIKit
@UIApplicationMain
class AppDelegate: UIResponder, UIApplicationDelegate {
var window: UIWindow?
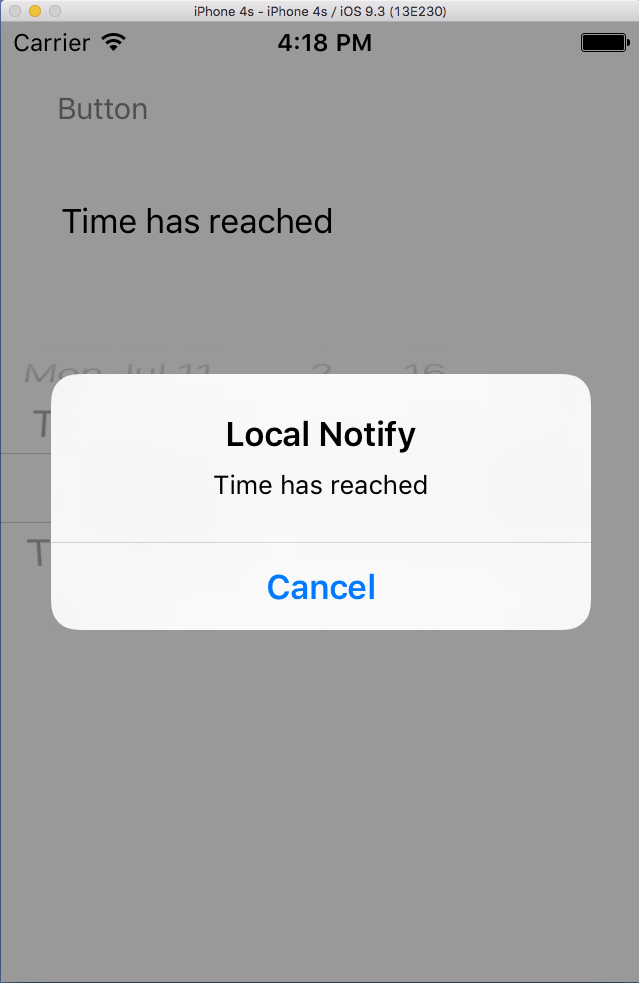
func application(application: UIApplication, didReceiveLocalNotification notification: UILocalNotification) {
let alert: UIAlertController = UIAlertController(title:"Local Notify",
message: notification.alertBody,
preferredStyle: UIAlertControllerStyle.Alert)
alert.addAction(UIAlertAction(title:"Cancel",style:UIAlertActionStyle.Cancel,handler:nil))
self.window!.rootViewController!.presentViewController(alert, animated: true, completion: nil)
}
func application(application: UIApplication, didFinishLaunchingWithOptions launchOptions: [NSObject: AnyObject]?) -> Bool {
return true
}
func applicationWillResignActive(application: UIApplication) {
}
func applicationDidEnterBackground(application: UIApplication) {
}
func applicationWillEnterForeground(application: UIApplication) {
}
func applicationDidBecomeActive(application: UIApplication) {
}
func applicationWillTerminate(application: UIApplication) {
}
}
|

| --> |
|
| --> |
|